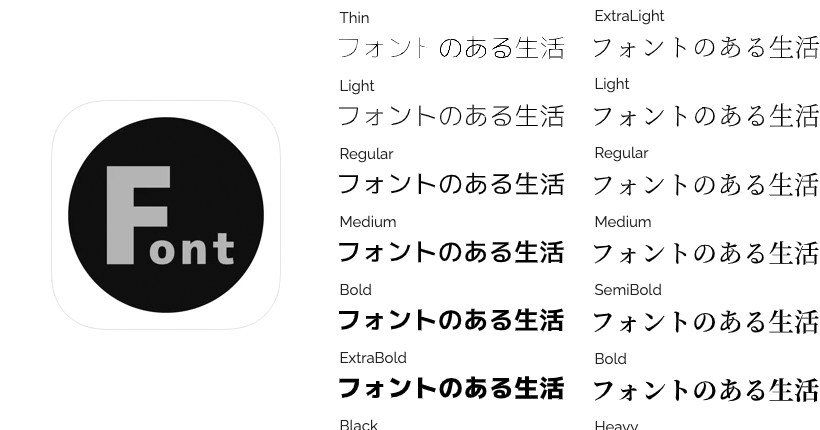
Noto Sans JPをWebサイトに設定する方法
Google Fontsから「Noto Sans Japanese」をCDNで読み込み、Webサイトで使用する手順の備忘録です。
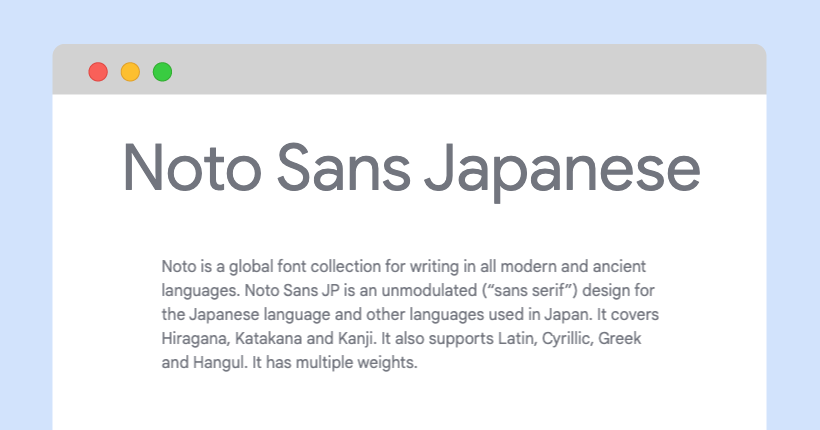
Google Fontsでは、Googleが提供しているWebフォントを無料で利用することができます。
詳しい使い方と、ダウンロードして使用する手順は下記の記事で紹介しています。
Google FontsでNoto Sans Japaneseを検索する
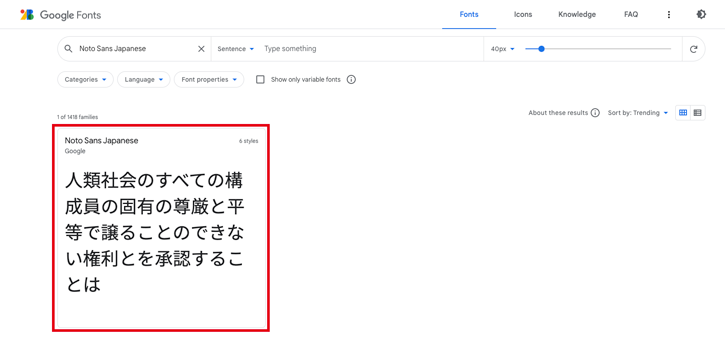
まずは、Google Fontsで使用するフォントを検索します。
左上の「Search fonts」に「Noto Sans Japanese」と入力します。

一覧の中に「Noto Sans Japanese」が表示されるのでクリックします。
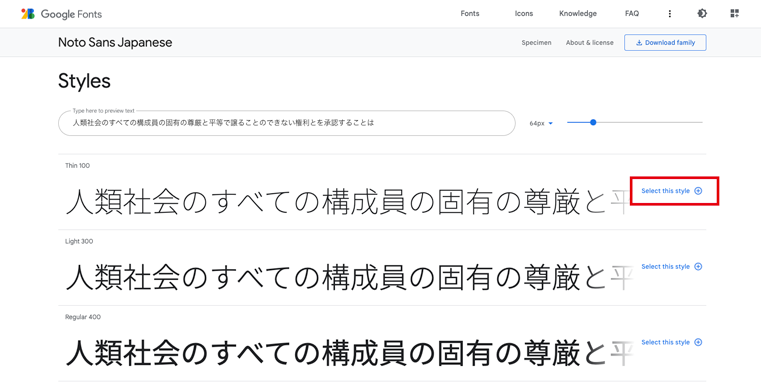
表示されたフォントのページで、Webフォントとして使用する設定をしていきます。
<head>にコードを追記する
フォントページ内の「Styles」のフォント一覧から、Webフォントとして使用したいフォントタイプの右側にある「Select this style」をクリックします。
「Select this style」をクリックすると、ページの右側に「Selected family」が表示されます。
Webフォントで使用するファンとを全て選択したら、右下に表示されている「<link rel=…」部分のコードをコピーします。
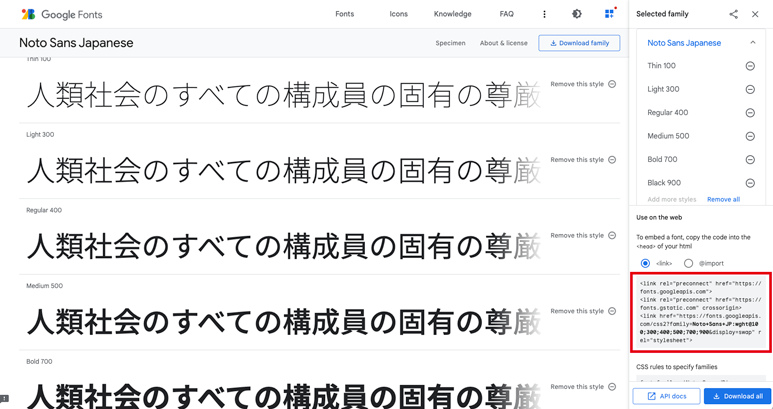
コピーしたコードをWebサイトの<head>内に記入します。
  <head>
    <link rel="preconnect" href="https://fonts.googleapis.com">
    <link rel="preconnect" href="https://fonts.gstatic.com" crossorigin>
    <link href="https://fonts.googleapis.com/css2?family=Noto+Sans+JP:wght@100;300;400;500;700;900&display=swap" rel="stylesheet">
  </head>
CSSにコードを追記する
続いて「Selected family」の<link>の下に表示されているcssを追記すれば設定は完了です。
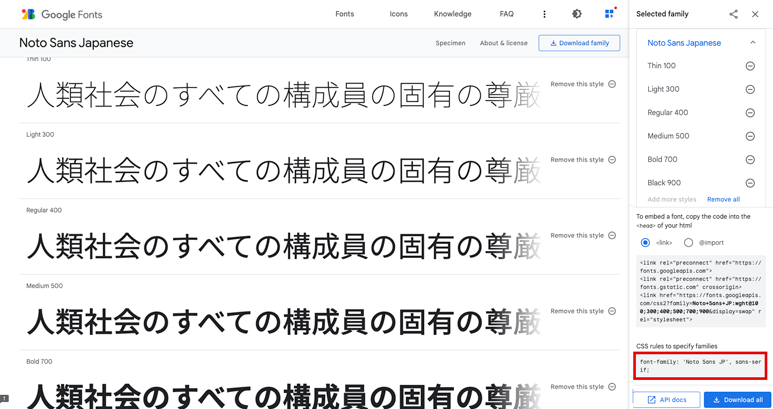
body {
  font-family: 'Noto Sans JP', sans-serif;
}
上記のように、bodyに直接設定したり、クラスに設定して使用します。