Photoshopで写真の余白を埋める方法
![](https://tamatuf.net/wp/wp-content/uploads/2023/04/main-image-3.jpg)
Photoshopで、淵で途切れた写真の余白を自動で埋める方法の備忘録です。
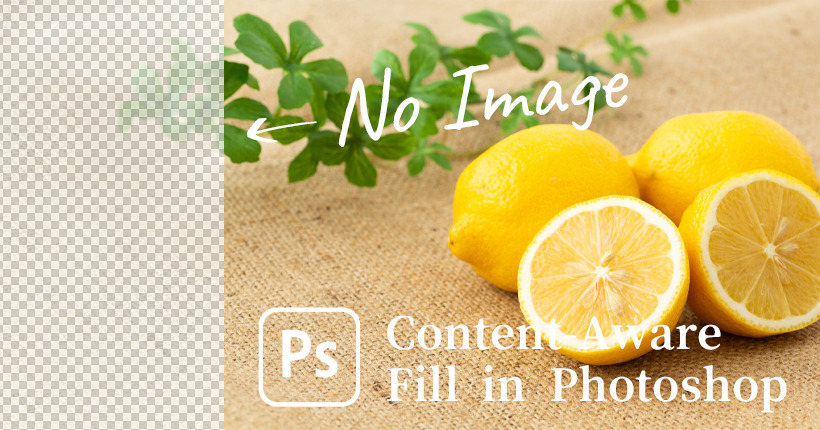
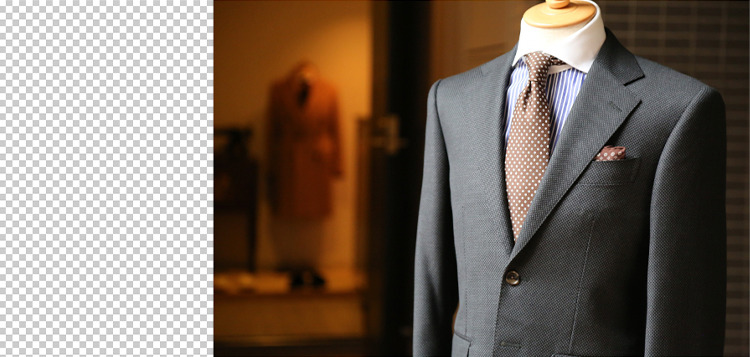
以下のサンプルでは、キャンパスのサイズに対して写真の幅が足りていないため、左側に余白ができてしまっています。
![](https://tamatuf.net/wp/wp-content/uploads/2023/04/ps_03.jpg)
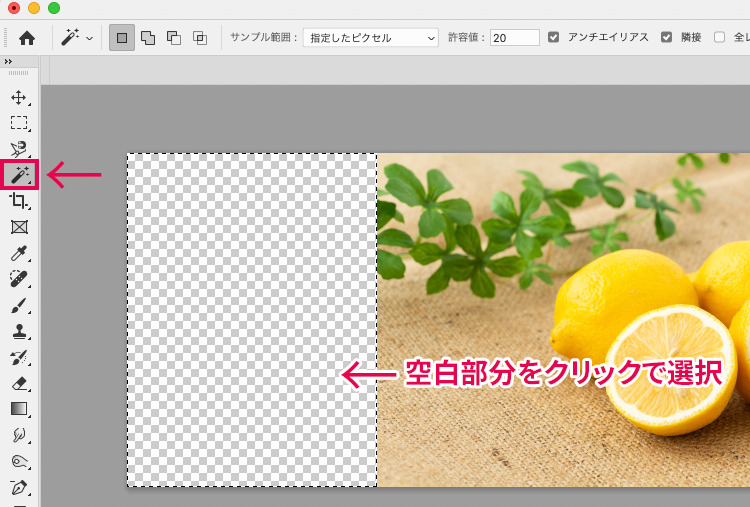
余白部分を埋めるために、コンテンツに応じた塗りつぶしを使用します。
左側のツールバーの「自動選択ツール」で、空白になった余白部分をクリックして選択します。
![](https://tamatuf.net/wp/wp-content/uploads/2023/04/ps02_03.jpg)
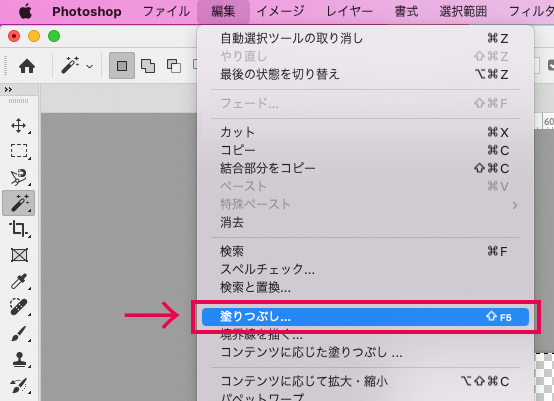
上部メニューから「編集」>「塗りつぶし」を選択します。
![](https://tamatuf.net/wp/wp-content/uploads/2023/04/ps03_03.png)
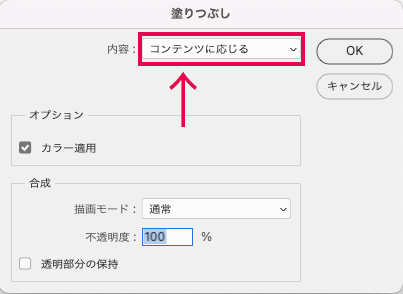
「内容」を「コンテンツに応じる」に変更して、右横の「OK」をクリックします。
![](https://tamatuf.net/wp/wp-content/uploads/2023/04/ps04.png)
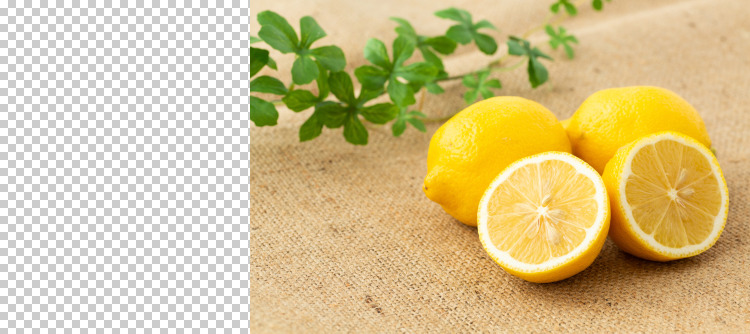
選択範囲の部分が元の写真に合うように自動で塗りつぶしされました。
![](https://tamatuf.net/wp/wp-content/uploads/2023/04/ps05_03.jpg)
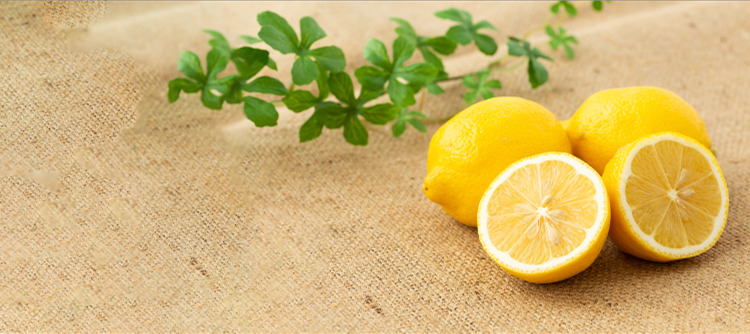
背景のグリーンや、麻布の質感を違和感なく塗りつぶされています。
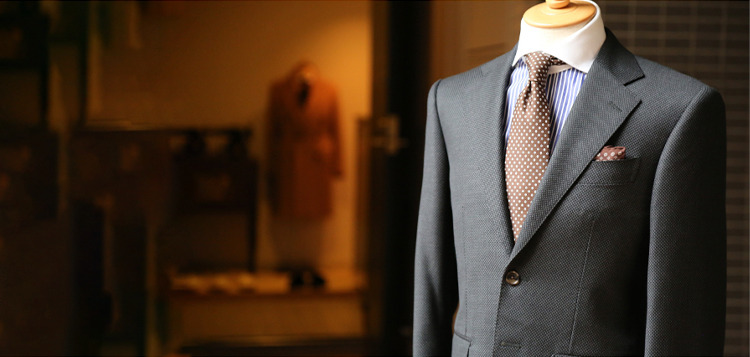
下記のような、ぼかしの入った室内の画像でも、違和感なく埋めることができます。
![](https://tamatuf.net/wp/wp-content/uploads/2023/04/ps06_03.jpg)
![](https://tamatuf.net/wp/wp-content/uploads/2023/04/ps07_03.jpg)
一度塗りつぶしを行って違和感がある場合は、変更したい箇所を絞ってコンテンツに応じた塗りつぶしを繰り返すことで改善していきます。