Photoshopでグラデーションマップを作成する方法
Photoshopでグラデーションマップを作成する方法の備忘録です。
グラデーションマップを利用すれば、画像の明暗を、設定したグラデーションの色に置き換えることができます。白黒の写真に色をつけたり、全体の色味を調整したし、イラストの作成にも使用されます。
グラデーションマップを設定する
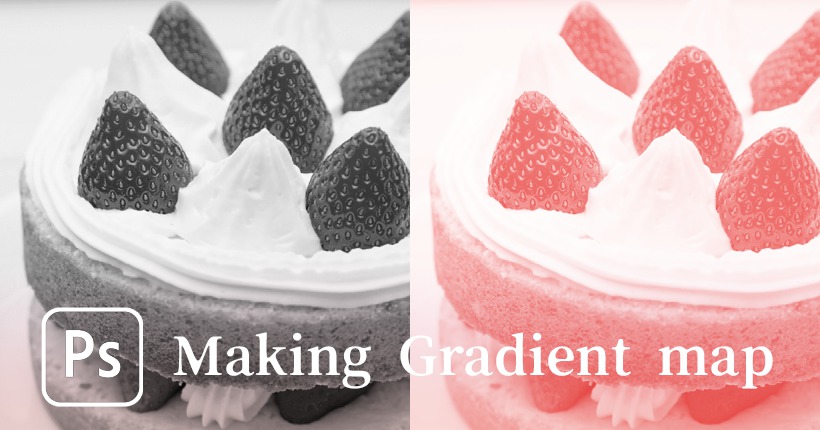
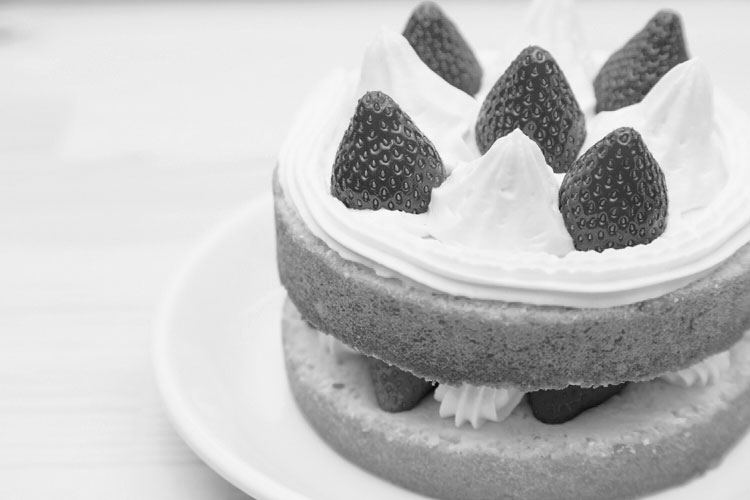
Photoshopで白黒の写真に、グラデーションマップで色をつけてみます。
まずはPhotoshopでモノトーンの写真を開きます。
上部のメニューから「レイヤー」>「新規調整レイヤー」>「グラデーションマップ…」をクリックします。
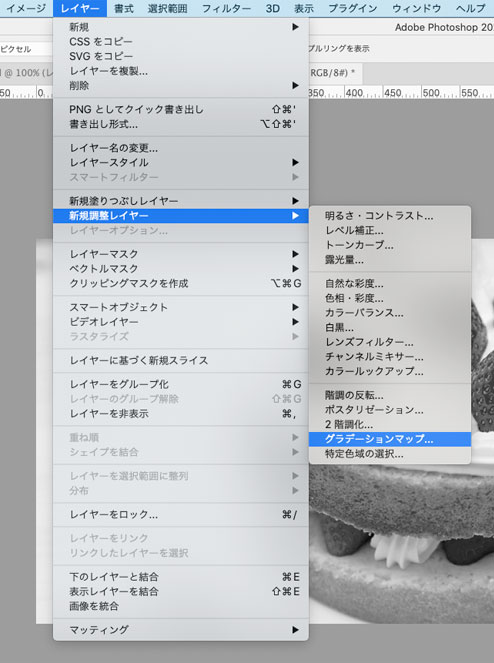
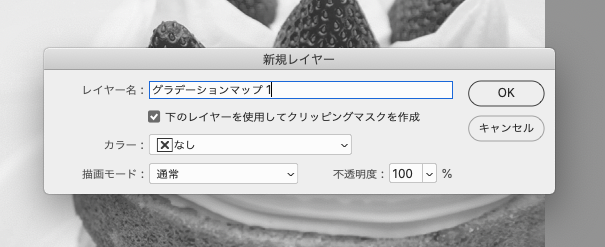
新規レイヤーパネルが開くので、下のレイヤーを使用してクリッピングマスクを作成にチェックを入れて「OK」をクリックします。
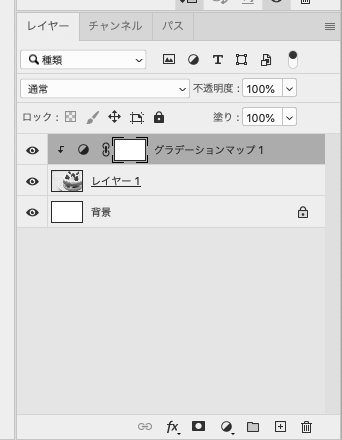
グラデーションマップのレイヤーが追加されました。
グラディーションを変更する
グラデーションマップが設定できたら、グラデーションで色を設定します。
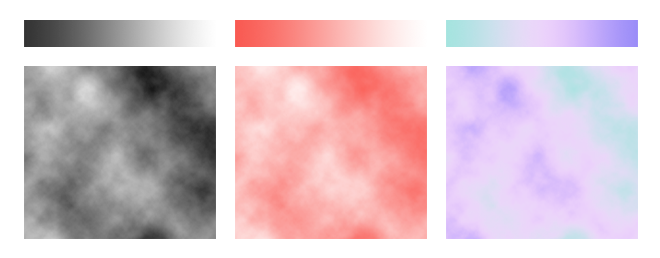
プロパティに表示されているグラデーションバーをダブルクリックし、グラデーションエディターを表示します。
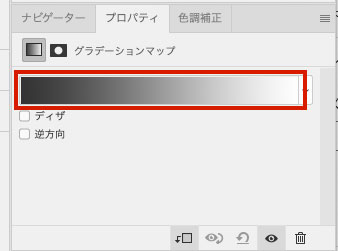
グラデーションエディターが開くので、プリセットまたは、グラデーションタイプから色をカスタムします。
カスタムで色を変更したい場合は、表示されているグラデーション下の四角い色の表示をダブルクリックします。余白部分をクリックして、色を追加することもできます。設定できたら「OK」をクリックします。

グラデーションエディターで作成したグラデーションが、モノクロの写真に反映されます。

グラデーションの色を変更することで、セピア風のレトロな画像なども簡単に作成できます。
グラデーションマップで色彩調整
グラデーションマップや全体の色味の調整にも活用することができます。
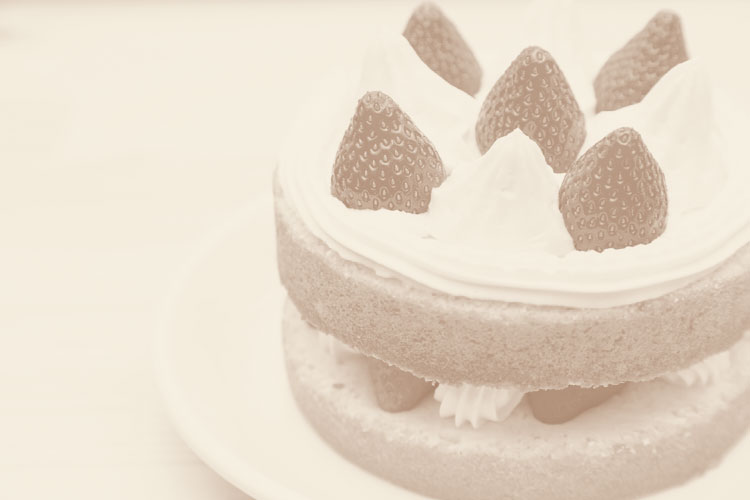
元のケーキの写真に、グラデーションマップで下記のようなグラデーションを設定します。

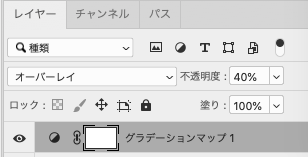
作成したグラデーションマップのレイヤーを「オーバーレイ」、不透明度「40%」に設定することで、全体の色が明るくなりました。

全体の色味の調整は、イラストの作成でも使用できるテクニックです。