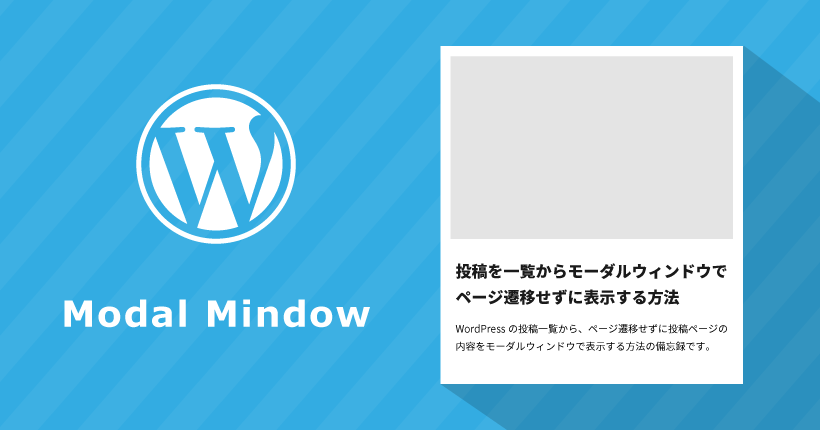
投稿を一覧からモーダルウィンドウでページ遷移せずに表示する方法

WordPressの投稿一覧から、ページ遷移せずに投稿ページの内容をモーダルウィンドウで表示する方法の備忘録です。
投稿一覧を表示する
まずは、下記のような投稿ページを一覧表示するコードをindex.phpなどに記述します。
<?php if (have_posts()) : while (have_posts()) : the_post(); ?>
  <article class="article-item">
    <a class="modal-open">
      <?php the_title(); ?>
    </a>
  </article>
<?php endwhile; endif; ?>
<?php wp_reset_postdata(); ?>一覧で投稿一つ一つを囲む<a>タグのクラスに、モーダルウィンドウを開く「modal-open」を設定しています。
モーダルウィンドウを作成する
続いて、モーダルウィンドウで表示するコンテンツのコードを追記します。
<?php if (have_posts()) : while (have_posts()) : the_post(); ?>
  <article class="article-item ">
    <a class="modal-open">
      <?php the_title(); ?>
    </a>
  </article>
<!-- 追加コード ここから -->
  <div class="modal-window">
    <div class="modal-area">
      <div class="modal-area-title">
        <?php the_title(); ?>
      </div>
      <div class="modal-area-content">
        <?php the_content(); ?>
      </div>
    </div>
    <div class="modal-close">
      <div class="icon-close"></div>
    </div>
  </div>
<!-- 追加コード ここまで -->
<?php endwhile; endif; ?>
<?php wp_reset_postdata(); ?>
「modal-window」の中に、モーダルウィンドウで表示する投稿の内容を記載します。
「modal-close」がモーダルウィンドウを閉じるボタンになります。
CSSを設定する
記事一覧と、モーダルウィンドウのCSSを設定します。
@charset "UTF-8";
/* article-style ----------------------------------------- */
.demo-contents {
  display: flex;
  justify-content: space-around;
}
.article-item {
  width: 100%;
  max-width: 360px;
}
.article-item a {
  font-size: 24px;
  font-weight: bold;
}
.article-item a:hover {
  cursor: pointer;
  color: #7ac8b7;
}

/* modal-window ----------------------------------------- */
.modal-window {
  display: none;
  width: 100vw;
  height: 100vh;
  position: fixed;
  top: 0;
  left: 0;
  background: rgba(222, 222, 222, 0.6);
  z-index: 111;
  justify-content: center;
  align-items: center;
}
.modal-area {
  width: 80%;
  max-width: 800px;
  background-color: #fff;
  padding: 30px 30px 50px;
}

/* modal-close ----------------------------------------- */
.modal-close {
  position: fixed;
  top: 30px;
  right: 30px;
  z-index: 113;
  cursor: pointer;
  text-align: center;
}
.icon-close {
  width: 50px;
  height: 50px;
  position: relative;
  border: 2px solid #777;
  border-radius: 100%;
  cursor: pointer;
}
.icon-close::before, .icon-close::after {
  display: block;
  content: "";
  position: absolute;
  top: 50%;
  left: 20%;
  width: 60%;
  height: 2px;
  background: #777;
}
.icon-close::before {
  transform: rotate(-45deg);
}
.icon-close::after {
  transform: rotate(45deg);
}「modal-window」には、画面いっぱいに広がる透過背景部分を設定しています。実際に、モーダルのボックスとして表示するのは「modal-area」の部分です。display: flex;で画面の中央に表示しています。
「modal-close」で、モーダルウィンドウを閉じるボタンを画面の右上に設置しています。
テキストや余白など機能に関わらない部分のコードは割愛しています。
クラスや細かい数値は、表示環境に合わせて変更してください。
JSを設定する
HTMLとCSSの準備ができたら、モーダルウィンドウを表示するためのJSを設定します。
$(function () {
  $('.modal-open').click(function () {
    $(this).parent('.article-item').next('.modal-window').fadeIn().css('display','flex');
  });
  $('.modal-close').on('click', function () {
    $('.modal-window').fadeOut();
  });
});
コードを実行するためには、jQueryの読み込みが必要です。
「modal-open」のリンクをクリックすると、「modal-window」に設定されたdisplay: none;がdisplay: flex;に変更され、モーダルウィンドウが表示されます。


